At last!! After a lot more tedious filing and soldering and many weeks of painting effort (much of it wasted) the Chitterne bridge girders – initially described in my previous post – have finally been completed! As always, click the image below for a larger version.
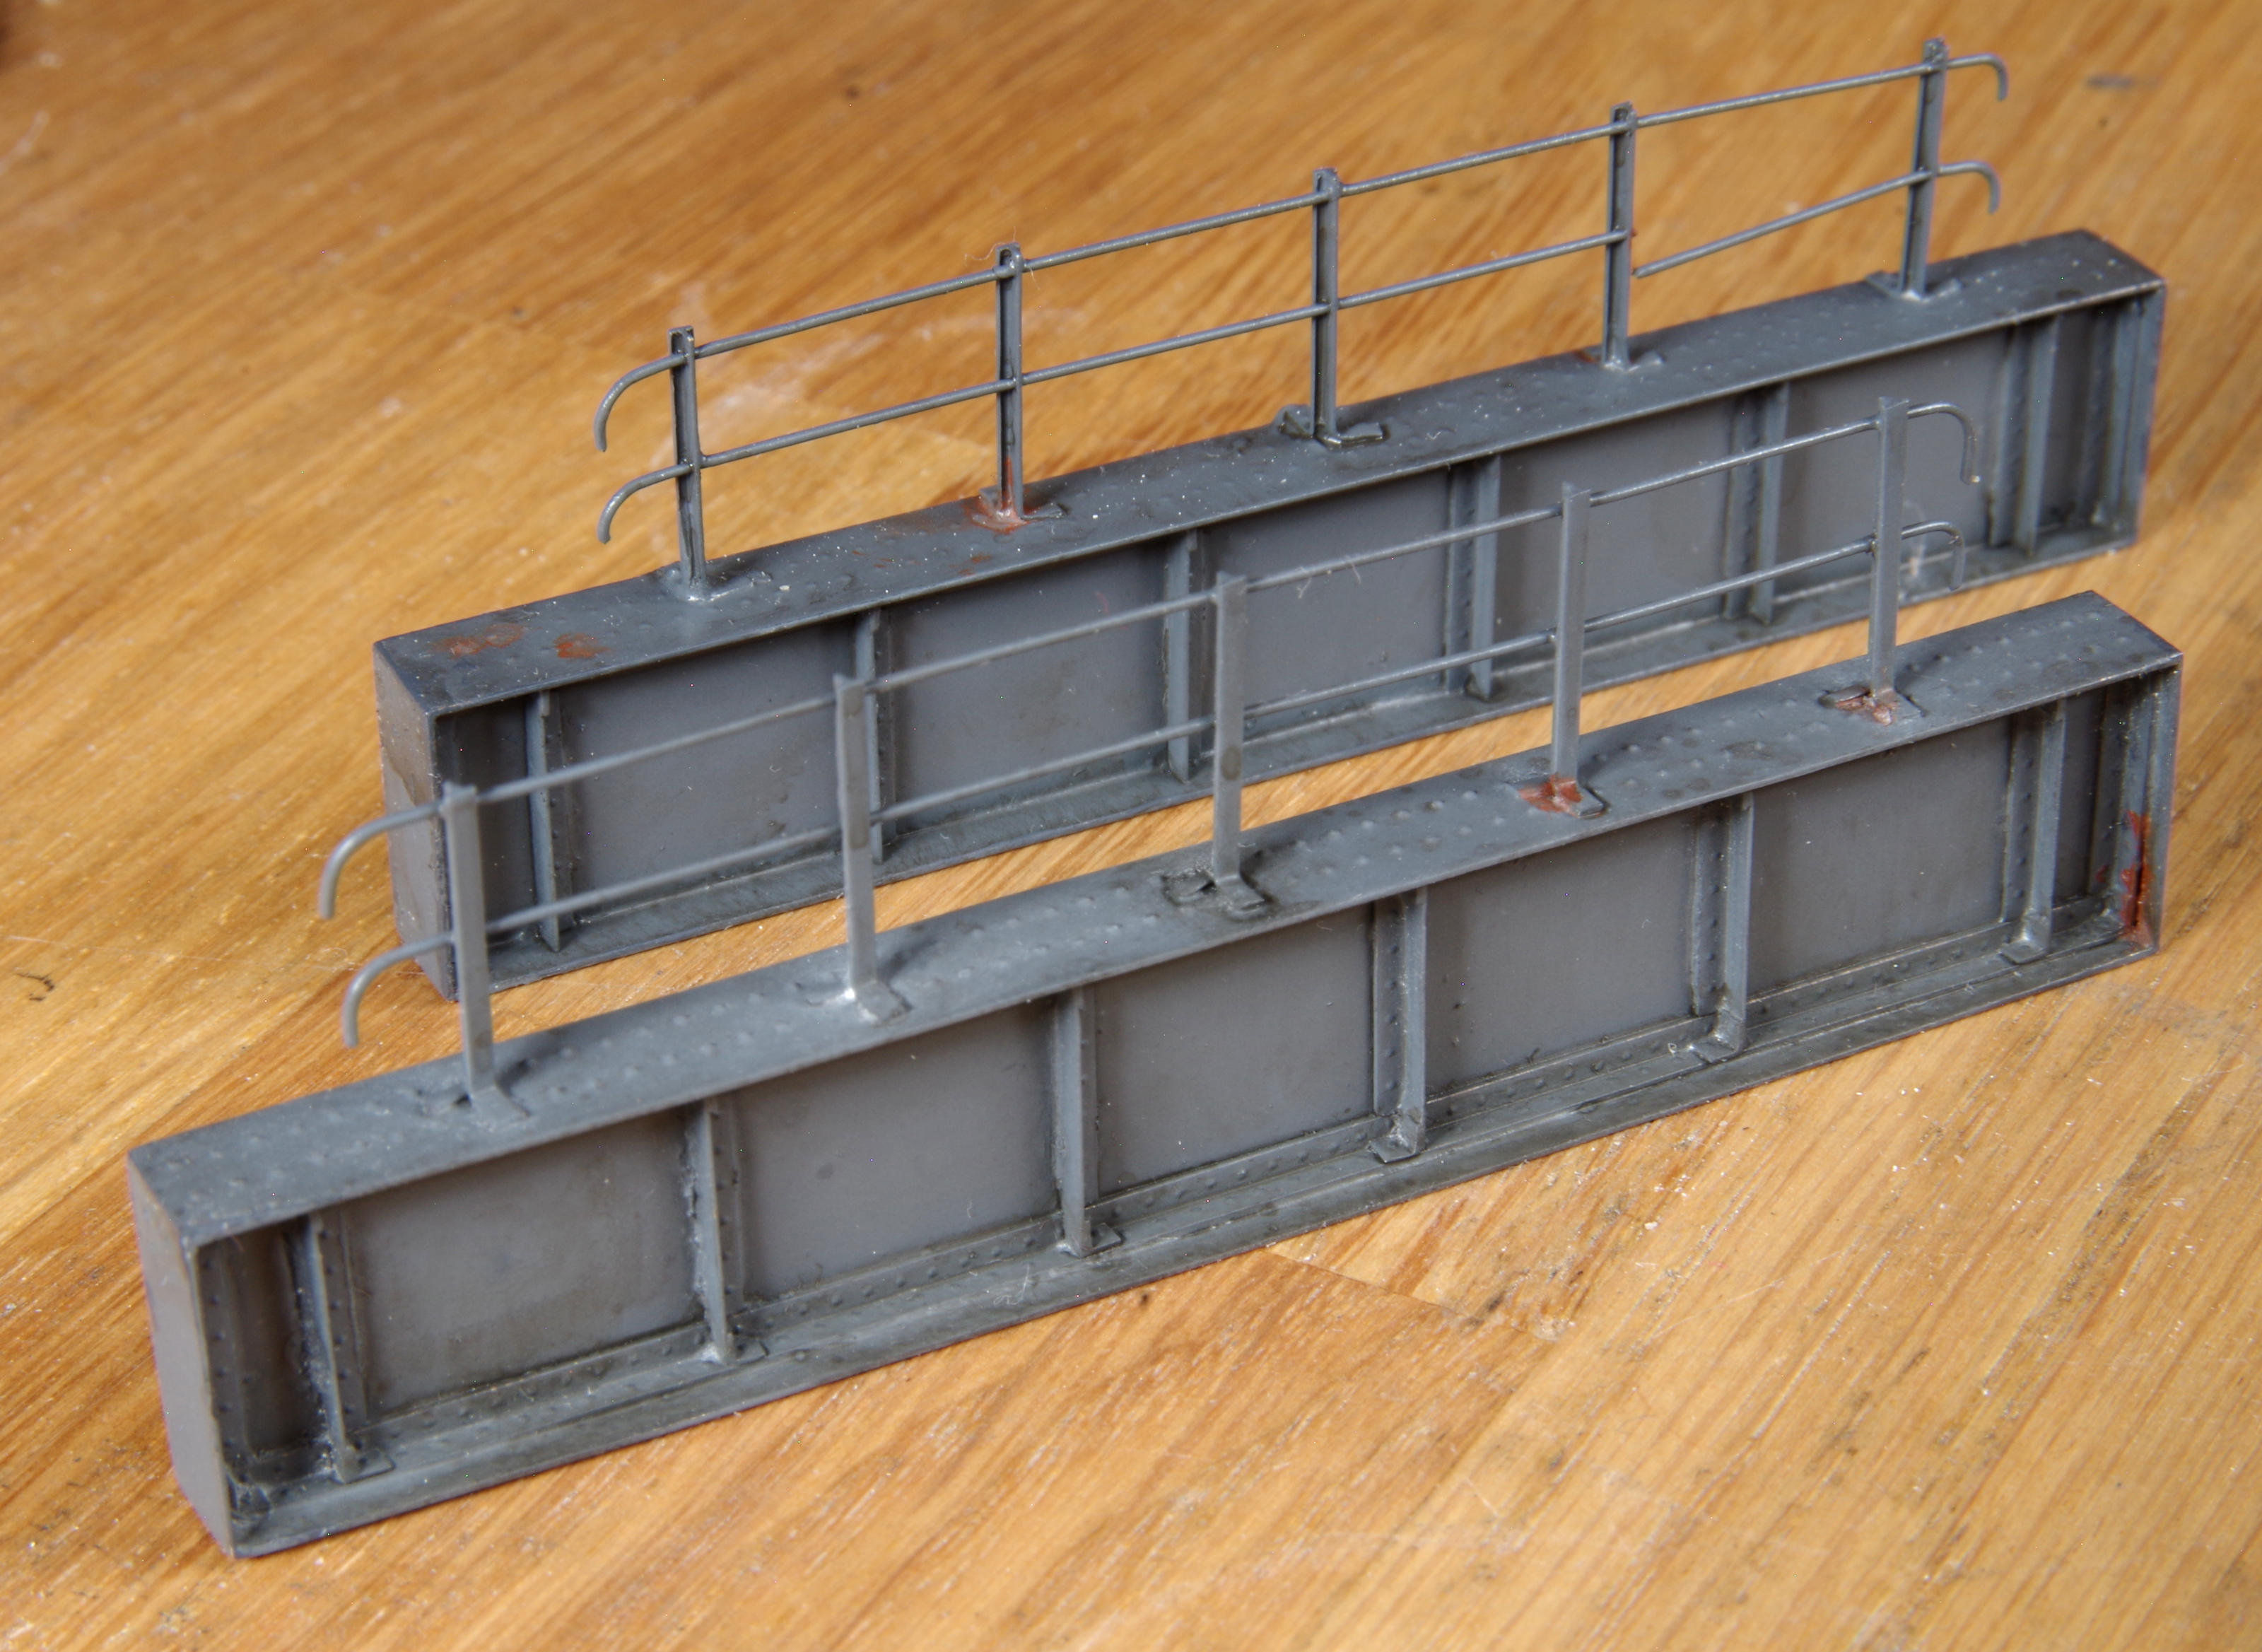
The girders are shown in the position they will appear to the audience. The one at the back is the one which appeared in the previous post. Note that the handrail is a “model of a broken handrail” rather than a “broken model of a handrail” if you see what I mean. Also notice that there is no internal detail at the bottom of the back girder. This is the case with both “rail facing” sides as this area is below the track and thus completely invisible .
I made a number of changes in the construction of the second girder. I altered the sequence of construction so that the flange angles were fitted to the web plate first. This made it much easier to subsequently solder the flange plates on square.
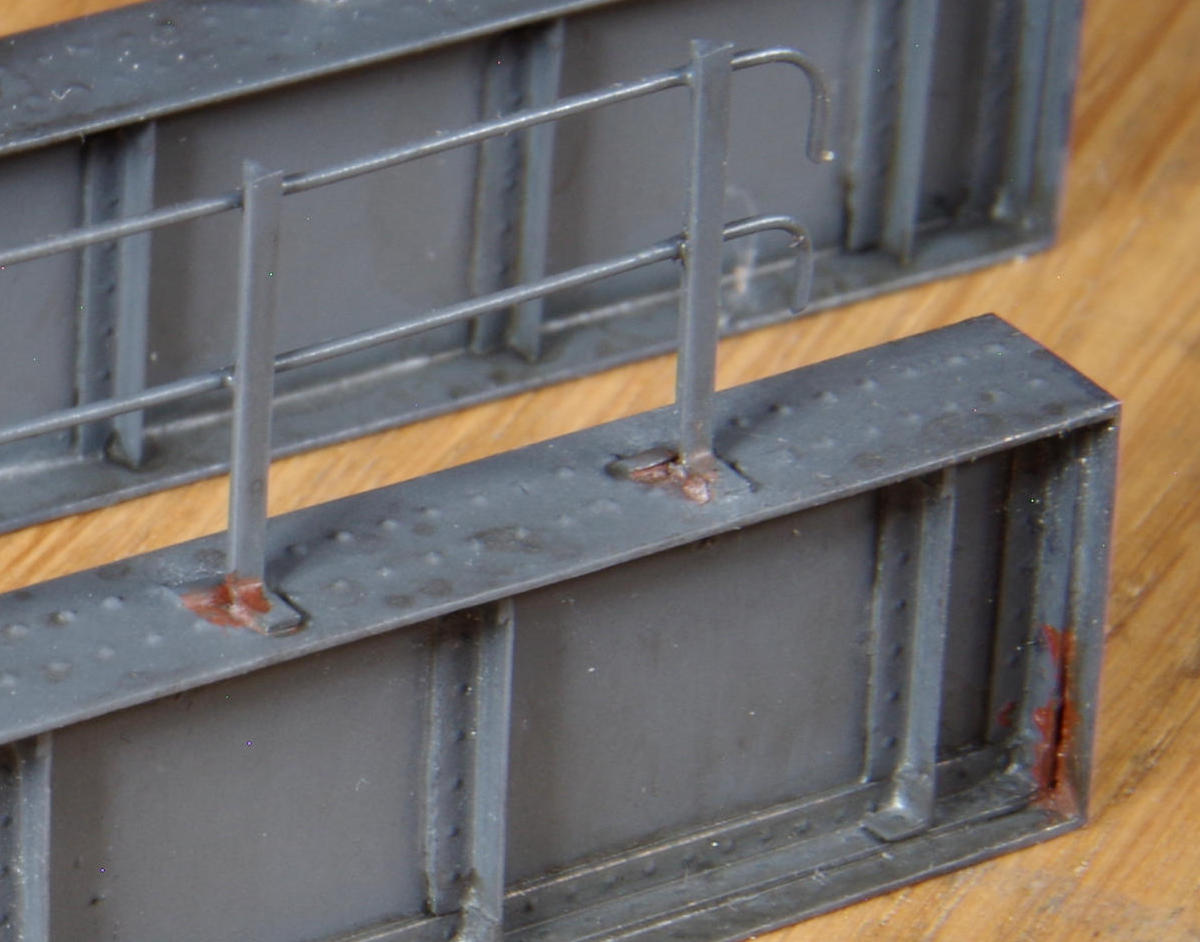
I also changed the way that the handrail stanchions are attached. On the first girder they were soldered, but it was very hard to clean away the excess solder so that it wouldn’t show and it tended to cover up the adjacent rivet heads. In the second girder I soldered short sections on nickel-silver wire to the bottom of each stanchion and then inserted these into holes drilled into the top of the girder. The stanchion is then attached with glue. The wire is just about visible (although on the side away from the audience) but the overall effect is improved.
Painting was a very lengthy process with a significant learning curve. Fortunately, I had made a simplified prototype girder and I was able to practice on this and simply re-spay it when it all went wrong!
The first coat is Expo 46502 acrylic primer and perhaps this was my first mistake but it seemed like it would do the job. I then sprayed this with a couple of coats of Tamiya TS-4 German Grey Again, this looked OK and I was lulled into a false sense of security by the statement on the manufacturer’s web site that this paint could be safely overpainted with enamels or acrylics!
I then came to the matter of weathering which is something I have never tried to seriously attempt before and I was confident that my almost complete lack of artistic ability would seriously hinder me.
After some study and watching various videos online I made up a wash of several murky looking enamels with some enamel thinners. Unfortunately, as soon as I applied this it promptly removed both the Tamiya top coat and the primer, particularly on edges and corners.
I decided that perhaps my enamel thinner was a bit aggressive and there had been some complaints from Mrs S about its rather strong smell. I therefore purchased some “odourless” thinner and tried that instead. The results weren’t quite as bad but it still remove the paint from some edges. It seemed that I would have to do the weathering using acrylics so back to the shop to buy a selection of those.
Working on the basis that acrylics dilute in water I now made up murky looking water based wash. Unfortunately, this didn’t work either!! The problem this time seemed to be that the Tamiya top coat repelled the water. The wash wouldn’t take to the surface at all and just sat around in blobs. A quick check showed that the undiluted acrylics would go on just fine.
After yet another trip to Salisbury Model Centre to equip myself with some acrylic thinner I tried yet again. I made up a wash consisting of Tamiya XF-1 black, Revell 84 leather brown and Hannants XA1811 Russian tank green (the latter from my brief military modelling period). I took my initial wash and then diluted it further to make a very weak wash which I then spread over the entire girders. I used a dry stippling brush to create streaks and mottled effects. I then applied the stronger solution around the bottom flange angles where I figured that most dirt would tend to accumulate.
I also wanted to add a hint of rust to suggest that the girders had just reached the point where they would need re-painting. For this I used a MiG 3510 rust Oilbrusher. I applied a tiny drop with my smallest brush and then immediately added a drop of my odourless enamel thinner. Capillary action then tended to pull the rust colour into any corners and I removed the excess with a cotton wool bud. Used in small quantities like this without brushing I found that the thinner didn’t damage the paint. I added some rust at the bottom of several of the stanchions, around three rivet heads, where the handrail is broken and at the right hand end of the front girder where an unfortunate soldering error caused the end flange angle to be slightly out of place.
I tried finishing off with some weathering powder but wasn’t sure if it was doing what I wanted so I removed most of it. I will consult further and maybe add some more once the girders are in position and no longer going to be extensively handled.
Overall, I feel that the weathering has gone as well as can be expected and I certainly won’t be going anywhere near the Tamayi spray paints again. Perhaps they work fine on plastic models and my hope that they would work on brass with a suitable primer was where I went wrong.
The girders will now be passed over to Chris B to be integrated with the rest of the bridge.