At the entrance to Chitterne station there will be a small bridge over the Chitterne brook. After a great deal of debate it was agreed that this would be a simple plate girder bridge and Chris B and I agreed to make it. Chris is building the brick abutments and I the plate girders.
I made the decision early on that since this is a small bridge it isn’t going to have great big chunky girders. When I worked out what plate thicknesses I would need it quickly became clear that sufficiently thin plastic wouldn’t be stiff enough and might well twist or sag. I therefore decided to work in brass.
I hoped that an I-beam of sufficient dimensions would be available, but was unable to find anyone selling sections large enough (I can’t help feeling that someone must make such a thing). I therefore had to resort to making the entire girder exactly as the prototype would have been made, with a combination of plates and angles.
From reviewing photos of various plate girder bridges, it was clear that there were quite a few variations on the basic theme. I therefore decided to not slavishly copy any particular prototype but just put together something which matched the general arrangement of such things.
The photo below shows the first completed girder before painting (as always, click for a larger image). The web plate is made from 12.5mm x 0.8mm brass. This is significantly over scale thickness, but this doesn’t matter as its thickness can’t be seen and it makes it easier to align the flange plates. These are 6mm x 0.3mm on top and 0.4mm thick on the bottom. The difference isn’t easily visible and I had some 0.4mm to use up. I used the 0.3mm on the top as (a) it is more visible and (b) clearer rivets can be made in it.
The flanges and stiffeners are all made from 1.5mm x 1.5mm brass angle. In the case of the stiffeners, the sections protruding out from the web plate have been thinned from 0.3mm to 0.2mm as the former looked a bit chunky to me.

Where the stiffeners and flanges join, small angle brackets have been made from the same material again thinned to 0.2 mm. Fitting all of these was by far the fiddliest bit of the process.
The majority of the structure has been soldered using 145° solder but the stiffeners are fixed using superglue.
The rivets on the web plates have all been produced using a G W Models Universal Rivet Tool kindly lent to me by Roger H. All of the other rivets have been laboriously added using Archer transfers. Note that there are no rivets on the bottom web as experiments showed that this is not visible from any angle. Further, only the top two rows of rivets have been pressed into the end web plates as the rest will be covered by a retaining wall.
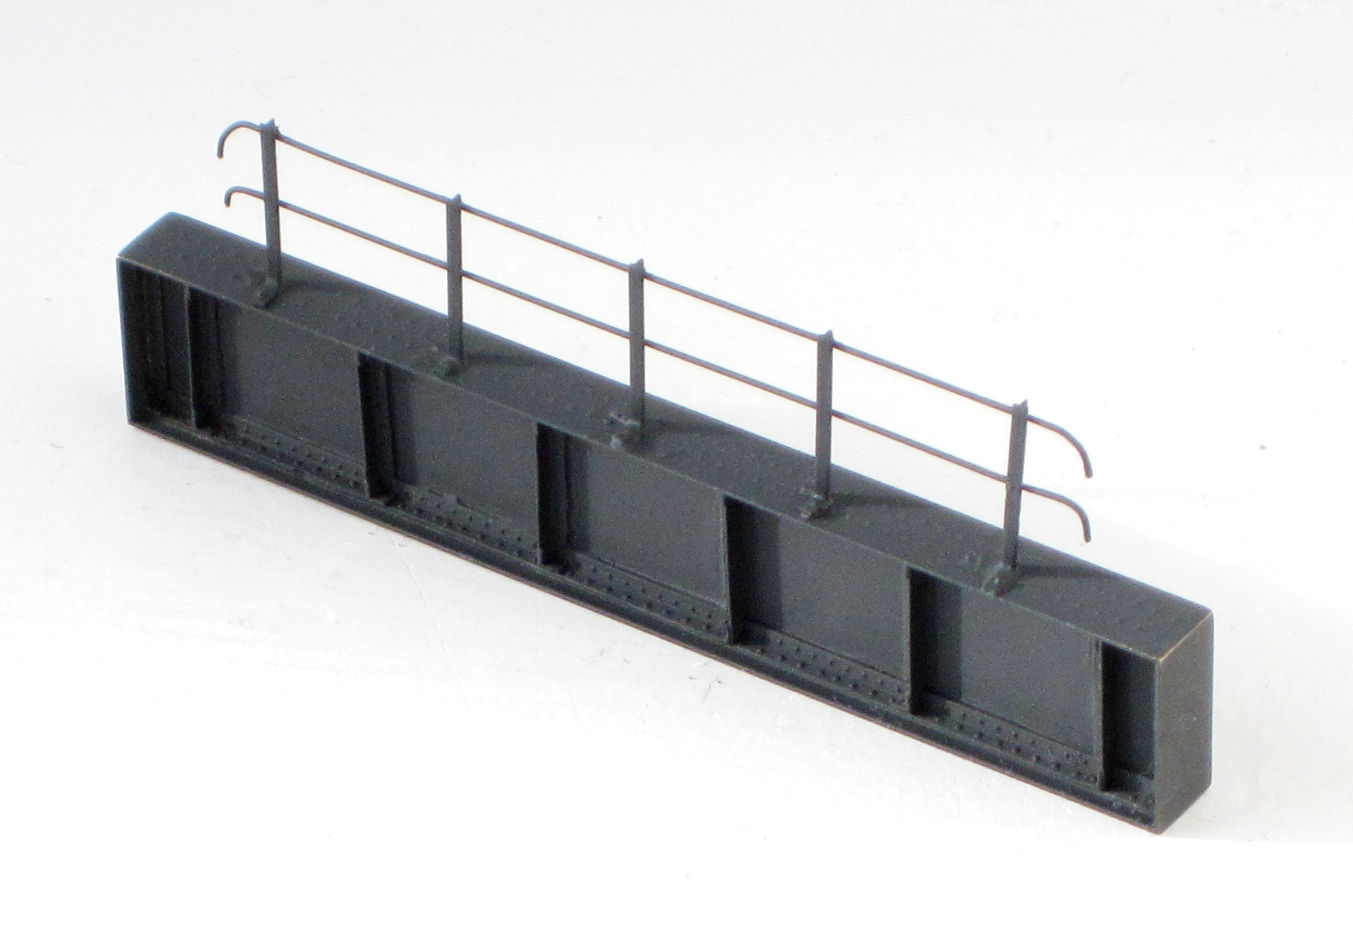
The handrail stanchions are made from 1mm x 1mm T section soldered to the upper web. The handrails themselves are 0.4mm brass threaded through 0.45mm holes and secured with tiny blobs of superglue.
This next photo shows the girder after painting with a single coat of primer. Overall, I am pleased with the result, particularly as I have never tried to make anything like this before so I was rather making it up as I went along. This girder will be the one furthest from the audience and I will be making some improvements in the construction of the second.